It's almost Halloween, and what's Halloween without some pumpkin carving? So, here's a pumpkin carving idea that's sure to impress your guests - Michael Myers edition! Follow these steps and create your own spooky pumpkin.
Step 1: Get a big pumpkin and print out the stencil on an A4 paper sheet. Carefully cut out the black figures and place them in the correct order so you don't mix them up.
Step 2: Scoop out the insides of the pumpkin, being careful not to remove too much or too little. Leave enough inside so the pumpkin won't collapse when you try to carve it, but also ensure that the knife can go through easily.
Step 3: Attach the stencil to the pumpkin with some pins, and trace the shape of the stencil with a knife. Make gentle strokes, and keep the cuts small for better control.
Step 4: Once you've traced out the shape, remove the stencil and pins and start carving. If a piece of the pumpkin is still attached to the stencil, go deeper with the knife and try again. Repeat the process with the face and be extra careful around the intricate details.
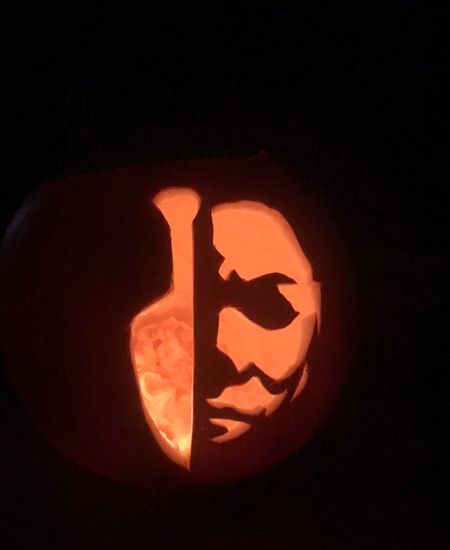
Step 5: Once you're done carving, place the pumpkin in a prominent spot and light it up with a candle. Your Michael Myers pumpkin is ready to scare!


You can also create this carving on a smaller pumpkin by printing the stencil on a smaller-sized paper sheet, so it's proportional to the pumpkin's size. Don't forget to have fun and be safe while carving pumpkins this Halloween!
Thank you for checking out this tutorial, and happy Halloween!
Subscribe to our email newsletter and unlock access to members-only content and exclusive updates.
Comments